Browsed by
Author: eoin24

We are a class from British Columbia, Canada. We are a class of 19 very curious and excited students that enjoy a wide range of activities (although gym always seems to come out on top!). We are interested in technology and how we can use it in the classroom to connect with our families and other people around the world.
Still Here!

Still Here!

kidchemistryIt has been a wonderful week and the students have all been working very hard even with all the distractions with the weather and the bookfair competing for their attention.

In Language Arts, students have finished looking at the organization of a story and have started their second story with this focus. We have discussed and worked through what makes an exciting beginning, how we use things like time to organize our middle and how to end a story so that the reader is left with a feeling of satisfaction. Talking about it is one thing, though. Actually, doing it is another. So students have been practicing these things in their stories. Our latest story is an adventure with a leprechaun which goes with our recent St. Patrick’s day theme. With that story, we did a lot of brainstorming with ways to keep our leprechaun from getting away and we also did a lot of brainstorming of ways to start our story. We are working on and practicing these concepts with the goal of creating a storybook about the adventures of Bob, my evil twin brother. Each child will get to write about one of his adventures which we will then compile into a storybook. We have also connected with a group of classes around the States to create a story with each class taking a section of the story. We are the second class in the list so we are just waiting for the first class to write the beginning before we can add our piece.

The students were very excited for today! No. Not just because it is a half day. It was because the students had their first chance to go to the computer lab. Starting today, we will going to the computer lab on Fridays after first recess. Students will be doing a variety of activities including writing stories, doing art, working with maps and other fun activities. It was really fun and the students did a fantastic job of listening and watching for what they needed to do. I had already worked with a group of “helpers” who had already practiced the techniques for logging on, etc so that when we did go to the lab, they were able to help out those students who were having problems. They did a fantastic and were extremely helpful!!! We also used a new website (start.io/mrhancock) as a way for students to quickly find the resources they need without having to worry about typing in long addresses or searching for websites. It was great fun.

What do you think of when someone says properties of matter to you? If you said, “What’s the matter?” then you need to swing by our classroom at Science time! Students have been learning about the properties of matter as part of our Science unit. If you don’t recall, matter comes in three different forms: solid, liquid and gas. So far we have been looking at different types of liquids and how they react when they mix. We will be doing lots of experiments in this unit and learning lots of things. Here is a cute video to get you up to speed on your properties of matter.

Spelling List For The Week And A Surprise

Spelling List For The Week And A Surprise

Well, it is one week closer to our due date (our baby is due on the 23rd!) and nothing yet. The excitement is mounting!!

We are going to do one more Review List before taking a break to work on some of the rules for spelling in our Learning Logs. Here is the spelling list for this week:

Spelling List RV3

Don’t forget to do our Spelling City with lots of fun games and a test you can take to help you practice. You can also bring in your completed test for an extra mark on the spelling test on Friday!
Spelling

It has been a little while since I uploaded something fun on the blog. So as a fun surprise, here is a new video for you. It is really neat how they built the contraption to use in the video.

My Trip Away, Spelling and Spelling City

My Trip Away, Spelling and Spelling City

E-LearningWell, I hope you all had a great weekend. If you did not know, I was alway at a fantastic convention last Thursday and Friday in Seattle. Ms.Couse, Mr. Loewen and myself were at the Northwest Council for Technology Educators and, oh, was there a lot of technology! My, oh, my! There was so much technology in the air, it was like the air was shimmering with energy!

Seriously, though. It was a fantastic conference and a lot of fun with lots and lots of learning mixed in. It was overwhelming at times hearing things like Grade 1 classes blogging on their own blogs, Google maps with stories embedded in them and all sorts of other things. I definitely learned a lot and I was very thankful for the opportunity to attend this major conference.

This week we are continuing with our review of our spelling words. Here is the spelling list with the link to Spelling City after it.

Spelling RV2

Here is the link to Spelling City. Remember, if you complete the test correctly, print out the results or certificate and bring it to school to receive a bonus point on your spelling test!Spelling

Spelling City With Review Lists Now Available!

Spelling City With Review Lists Now Available!

Here is the link to the Spelling City page with the words from our review list this week. Remember! If you complete the test with 100% and bring it in to me, I will give you a bonus on your spelling test for this week! For this week, you will have to hand it in to the sub. Just explain that it is for Mr. Hancock when he comes back! I will see you on Monday!

spellingrv

New This Week!

New This Week!

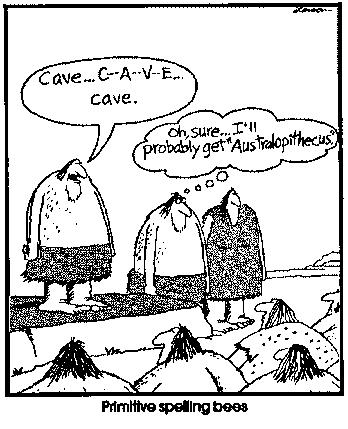
spelling_bee_CavemanHello and welcome back!! I’ve missed all of you! I hope you enjoyed the crazy fun activities on the blog while you were away! Don’t forget that they will always be there so if you need something to do, check back and try one of the activities!

Spelling this week is a little different. We are quite a ways ahead in our spelling so we are going to do some review. I have gone back and chosen words from a variety of lessons that I think may still be tricky for students or may have disappeared from memory. I have put them together into review spelling lists which we will go over for the next few weeks. The words are not from any one list and are some of the trickier words from each list. We are also going to be working more on using them in sentences as well to give them more context.

I have also given the list to the students today and will be giving them to the students every Monday from now on. The lists will be glued into the planners with markings added on Wednesdays.

Here is the spelling list for this week.
Spelling RV1

I will add the words to the Spelling City page tomorrow.

14 Days of Adventure – Day 13: Design Your Own Board Game

14 Days of Adventure – Day 13: Design Your Own Board Game

Wow! Only one day left of the 14 Days of Adventure Challenges! You know what that means? Almost time to go back to school! But there is still time for two more challenges! Today . . .

Day 13: Design Your Own Board Game!
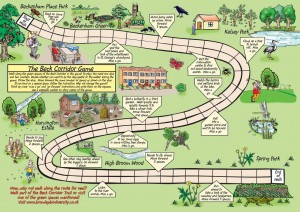
Board-GameBored with all those old board games? Why don’t you invent your own? It’s easy to do and you’ll have something you’ll actually want to play when you’re done!That’s right! The regular games are way too old and stuffy. No one wants to play those games. Besides, the rules are way to boring and hard to understand. Why don’t you use your old board games and/or cards to make up your own game!

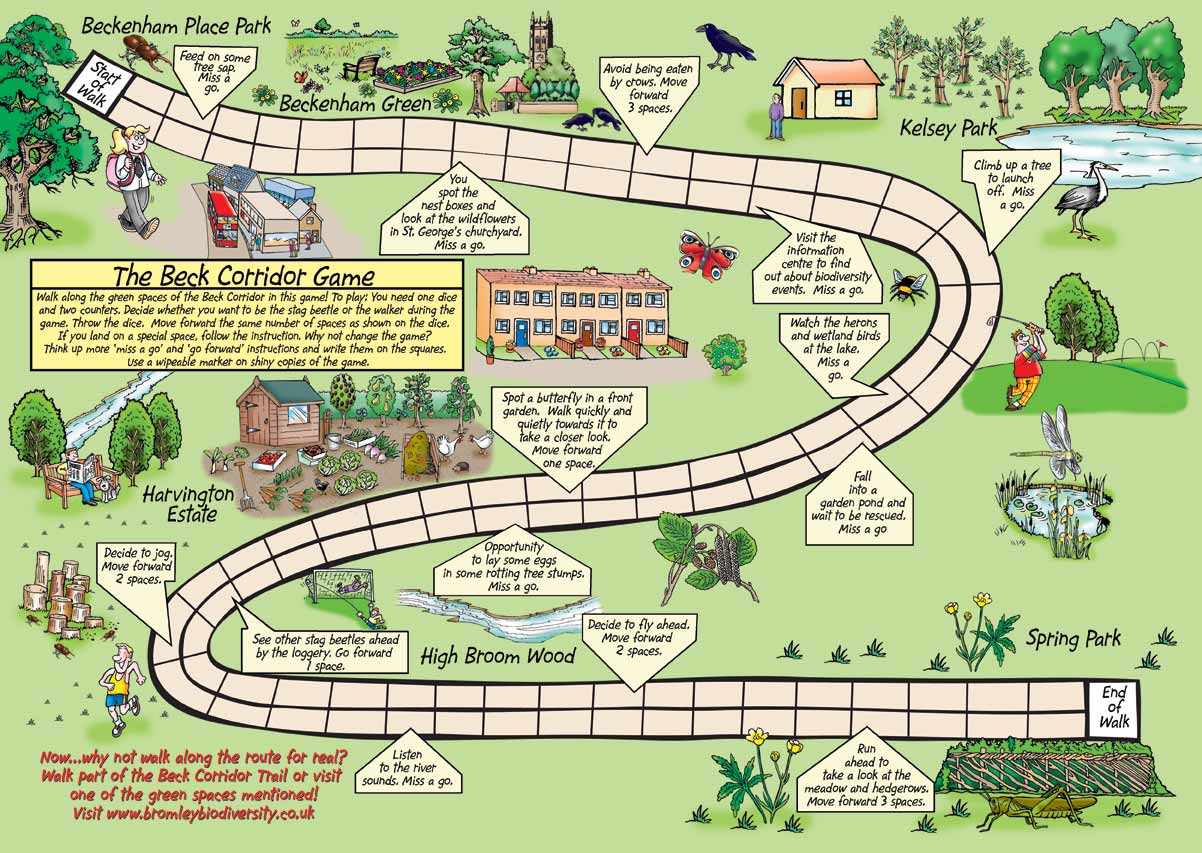
Start with an idea. What sort of game do you want? A skill-testing one like Trivial Pursuit? A chance one like Sorry? Once you have that in mind, design your board. Draw out a rough copy on a piece of paper. You can have the entire board comprise of squares like a chess board, or squares around the edge like Monopoly, or you can create a wavering design like Candyland. Of course, there are many more options, shaped boards are fun and your squares can be any shape you like.

Now, take an old game board or a piece of cardboard large enough to be a game board and decorate it according to your design. You can paint it, glue on shapes made of felt, colored paper, or foil, or use markers to fix it up. Anything goes.

Once you have the board, you will need pieces. You use virtually anything for playing pieces. Pennies, beans, or small toys work well. Of course you can always use playing men from other games. If you want pieces that are completely unique, try making your own out of light cardboard, the sort of stuff you would get from cereal boxes. Draw out your playing piece design and add 1/2 inch rectangle at the bottom. Now, cut the whole thing out and fold the rectangle under. You will have a piece that stands on it’s own.

Another way to design standing pieces is to cut the rectangle out seperately from the piece and cut a slit in the middle, halfway through. Now cut a slit in the bottom of the playing piece the same length and fit the two bits of cardboard together so the slits are joined. Voila! Another standing piece. This one will stand a little straighter, too.

For really personal playing pieces, take a photograph of yourself and anyone who will be playing the game and cut it out and make a base for it with the slits. You can be yourself or take turns being each other.

Now, depending on your game, you may need cards. Index cards work very well for this purpose. If you prefer, you can cut them in half for smaller cards. Decorate the back with a chosen design, something simple like a star, because it will be repeated a lot! Using a stamp makes the whole process much easier.

Now write the question or statement on the front of the card. You might need to look up some stuff on the computer or in an encyclopedia to write challenging questions. Or you can randomly write, ‘go back 2’, ‘go to the next green square’, etc. Stack all the cards on the board and trace a line around them. That will be the special card square.

If you cho0se not to have cards, you might want to write some directions right onto the board. For example, you might design a hiking game where you have a trail of squares winding across the board. You might put a paper tree across one square and write, ” A fallen tree, you must wait. Skip a turn.” Or you might write, ” You get chased by a bear, run ahead three squares.”

You can add photos and pictures clipped from magazines to your game as well. Play it a couple of times and adjust the rules to work the best. And then, play away!

Or just create a fun/funny game with cards. Take your index cards and write funny directions on them or the other players. As each player picks up a card, they have to do whatever is on the card.

If you haven’t played this type of card game before, you’ll need to have 60 blank index cards for 3 or 4 players. Any more players and you’ll need 80. The number of cards usually determines the length of the game, and the game gets bogged down with over 6 players.

Before the game begins, you’ll need to pass out 6 cards to everyone if you have an odd number of players, and 5 to everyone it the number is even. All players create cards out of their index cards and shuffle them back into the deck (I’ll cover how to create a card later). Then the game begins.

Once the deck is shuffled each player is dealt a 5 card hand (the deck has pre-made cards and blank ones). The person on the left of the dealer starts and turns go clockwise. To take a turn, a player draws a card from the deck and then plays a card (or passes). The played card is used and then discarded unless the card has instructions that need it stays on the table. Once a card is discarded, it is gone. It’s effects don’t work anymore. Cards in the deck also don’t work until they are drawn (yes you can work in somebodies hand).

If a player has a blank card, they may write on it at anytime. They can’t rewrite or add to existing cards. In the event that someone creates a card that must be played immediately, or can be played at any time–that card overrides any cards and you must follow that cards instruction before any others (unless someone else plays a card ontop of that).

Play stops (but the game isn’t over) when someone needs to draw a card and there are none left. When this happens, count up the score (preferably tallied on a notepad) and determine the winner–and count the total points. Once the winner is determined, set out all of the cards so that everyone can see. Going in turn order, each person picks a card to keep until each person has 5 cards. The author of the most cards picked also wins! Players keep their 5 cards and the rest are either thrown away or kept for later games.

Card Creation Guide

Here are some simple guidelines for creating cards:

-Make a title for the card

-Draw a picture (it doesn’t matter how good an artist you are, everyone ends up drawing doodles and stick figures in the end anyways).

-Finally, write the instructions on the card. This can be: “I get 100 points!”, or “Skip your turn”, or “Dance like a chicken,” or even, “Your name has been changed to Vegeta. -100 points to you or anyone who calls you anything else.”

-Cards cannot say “I win”, or “you lose”. Also, cards can’t take cards from the deck (if you need more cards, you have to pass after your draw). On top of that, cards can only take one card from another player’s hand (you can’t just take other players cards). You can’t give yourself more turns, or skip more than one person’s turn. Finally, cards can’t affect who can write, or how people can write cards.

-Cards can only do one thing each (cards can’t gain points, skip Joe’s turn, and make Joe discard his favorite card all at once).

-I suggest you set a limit to the number of points players can gain or lose in one card per turn (I use 100 as a max).

Beyond that, anything is possible (at least as far as I know)!

Have lots of fun and be creative! Bring your game to school on Monday and show us what you created if you make your own game!
Board-Game

ss_boardgame_eng

14 Days of Adventure – Day 12: Design Your Own Indoor Fort

14 Days of Adventure – Day 12: Design Your Own Indoor Fort

Day 12: Design Your Own Indoor Fort

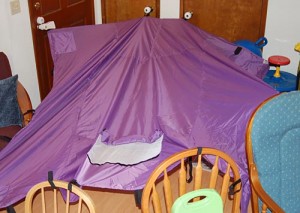
fort1There is nothing that kids love more than being in their own private hideaway haven. And there’s nothing more fun that crafting it yourself in the comfort of your own home by building an indoor fort. This is a wonderful indoor activity that will provide many happy memories, especially if mom and dad participate in the building and actually spend some time in the hideaway. Here are some tips for making unforgettable forts:

  • Designate a specific construction area. Give them specific instructions about what areas and materials are off limits.
  • Start with a sturdy base so that the entire structure doesn’t come crashing down on your heads. The dining room table, a large cardboard box (preferably refrigerator size!) or an existing play hut or house are good starts. A camping tent (if it’s accessible and easy to set up) makes a wonderful indoor fort. You can also create a structure by draping blankets over the backs of chairs.
  • Decide if you’ll build a communal fort or if each kid requires their own space. If your resources are sparse, consider separate areas within a common fort.
  • Provide plenty of soft quilts and pillows. Kids love to use the sofa cushions to bolster the walls of their creations.)
  • Flashlights really heighten the fun! Give each child their own flashlight to play with in the fort.
  • If it’s feasible, provide a non-messy snack and let the children eat in their fort.  It can simply be carrot sticks and cheese slices, but that can be better than any gourmet feast because they can eat it inside the coccoon of blankets draped over the coffee table.
  • Extend the magic by furnishing the fort with lots of accessories. If age appropriate, a boom box can provide a soundtrack, playing favorite songs or read-along books. No fort should be without a collection of favorite stuffed animals. And, if you’ve provided flashlights or other ample lighting, a fort is a great place to snuggle together and read away the afternoon.

14 Days of Adventure – Day 11: How to Play Marbles

14 Days of Adventure – Day 11: How to Play Marbles

Day 11: How to Play Marbles

karen-dupré-marvelous-marbles-iI never grew up playing marbles. For me, it was trading the hockey stickers that came with a book. Your parents probably remember those. You got a sticker book and then you had to buy the packs of gum with the stickers in them. You always wanted the ones that were for the pictures that were really big; the ones where you needed more than one sticker to make one picture. Those were always the hardest ones to get because there was always one that you could not get!

Marbles seems like a much cheaper activity and was one that students used to play in the earlier days of school. Apparently it is still popular. So, I thought for today, I would provide you with the instructions for playing marbles. You can play inside or out. All you need is a package of marbles which you can get from any dollar store, some string and tape. Here is a video explaining how to play and some other instructions.

14 Days of Adventure – Day 9: Be Theatrical!

14 Days of Adventure – Day 9: Be Theatrical!

Day 9: Be Theatrical!

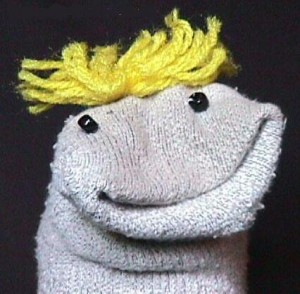
sock-puppetYou can make your own puppet theater. Begin by cutting off the finger-ends of old gloves. Draw faces on these fingers with felt tip markers and glue on yarn for hair. Or glue on felt strips to create cat, dog or other animal faces. Then create a story that the finger puppets can act out. You can plan a performance, make a simple stage somewhere in your house or on the steps of someone’s home, create a handout for your play with the name of the play and the actors names and sell tickets.

You could also cut out photos and paste them on popsicle sticks and have a puppet show. Make sure you ask your parents first before you cut out any photos or gloves!!! To make your theatre, just take two chairs, tie a string between them along the top and hang a blanket over it. Sit behind the blanket and hold your figures up!!

Make up your own stories or you can get some stories to act out from these websites:

The Town Mouse and the Country Mouse

Reader’s Theatre Scripts and Plays

The Reading Lady

Shorter Scripts

TeacherhelpThis site has all sorts of ideas for puppets and some Christian plays for you to act out as well!

Bag Puppets – This site helps you to make puppets with paper bags. There are a whole bunch of sites where you can print out animals, cut them out and glue them to your paper bag to make puppets.


Subscribe By Email

Get every new post delivered right to your inbox.

This form is protected by reCAPTCHA and the Google Privacy Policy and Terms of Service apply.

Skip to toolbar